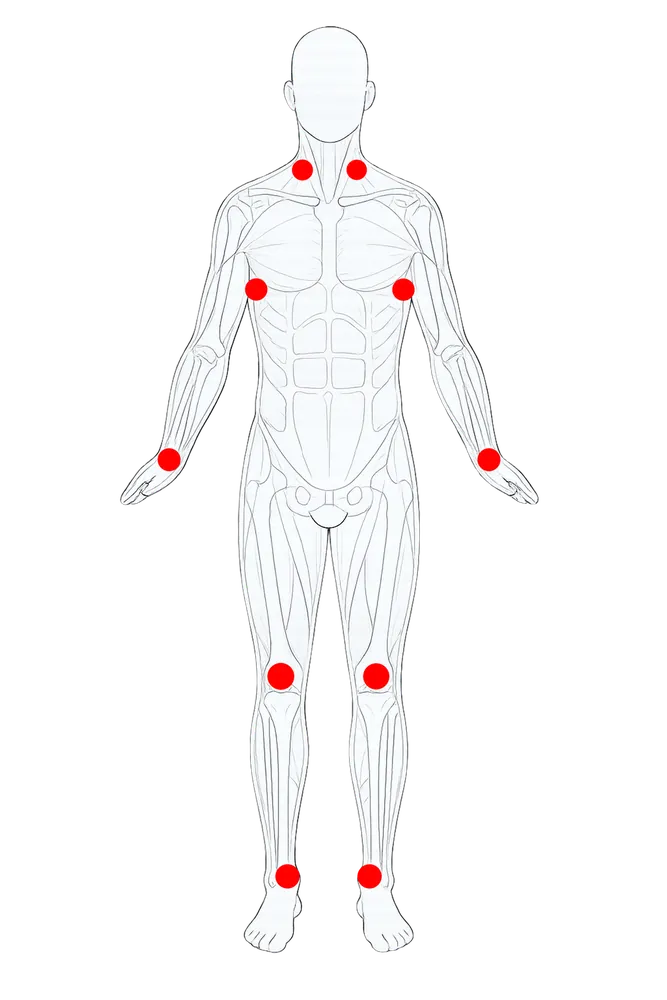
FIG.01 / NECK · CLAVICLE
 ANATOMICAL REFERENCE
ANATOMICAL REFERENCE
① · ② Order 1 → 2 (both sides)
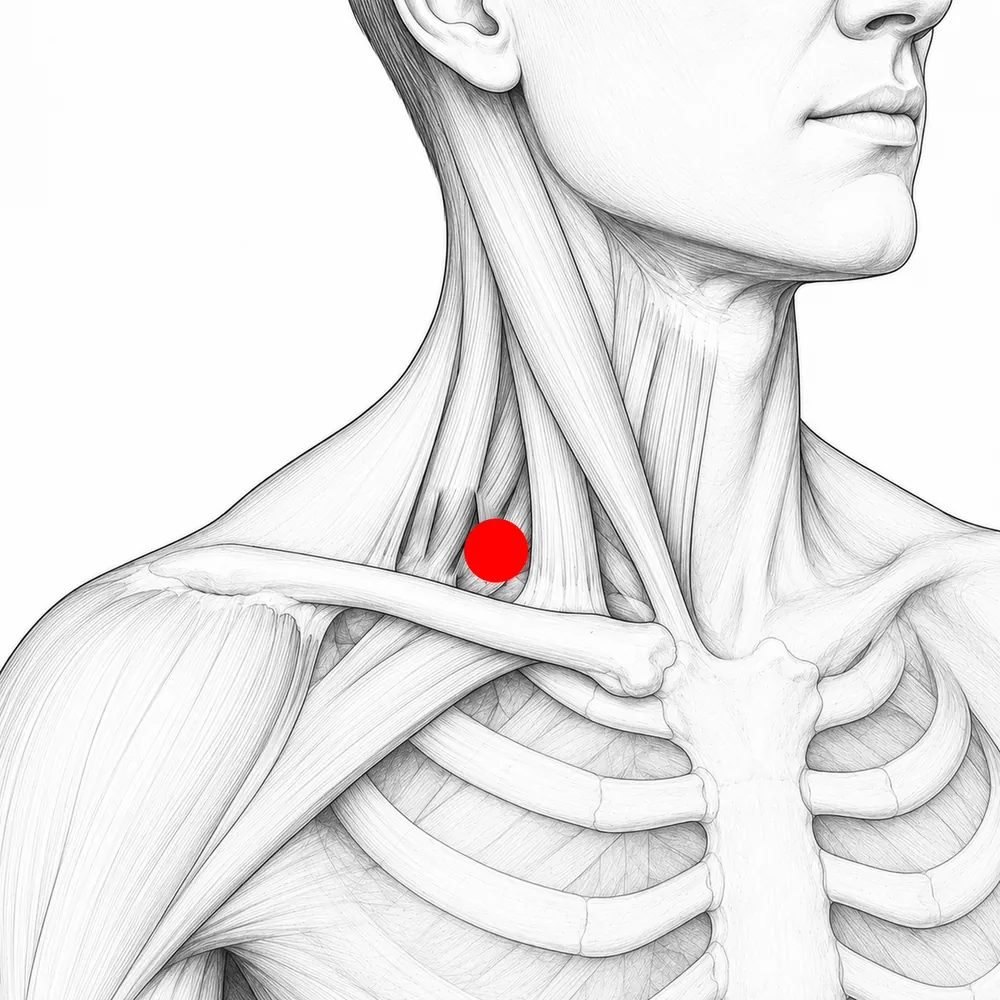
Scalene muscle (side of the neck)
Measure behind the sternocleidomastoid muscle (the posterior triangle of the neck), in the hollow above the collarbone.
- 1Turn your head slightly to the side to reveal the thick muscle (sternocleidomastoid).
- 2The triangular hollow just behind that muscle and just above the collarbone is your landmark.
- 3Measure the same spot on each side.