STEP 1–2 · QUICK START

Quick Start

New here? Work through this page in order and your setup will be complete. KINETIC LAB-Link runs in your smartphone browser — no app installation required.

STEP 1 ◀ This page
Registration
Sign in & register code
STEP 2 ◀ This page
Sensor connection
Connect & check battery
STEP 3
Body scan
Measure 10 points in order
STEP 4
Send data
Send via QR scan
4:16 Watch the video

You can also follow these steps in a video

If reading through the page is hard going, start here. The video walks through the whole flow on screen — from signing in to connecting the sensor.

Play on YouTube (opens in a new tab)

Before you begin

Before you begin

Check what's in the box and what you need to prepare. The external battery is not included.

In the box

In the Box

  • Dedicated sensor
  • Quick Start Guide
  • User Manual
  • B-TUBE size S ×2
  • B-TUBE size M ×2

What you need to prepare

What You Need to Prepare

  • A smartphone (you use it in the browser)
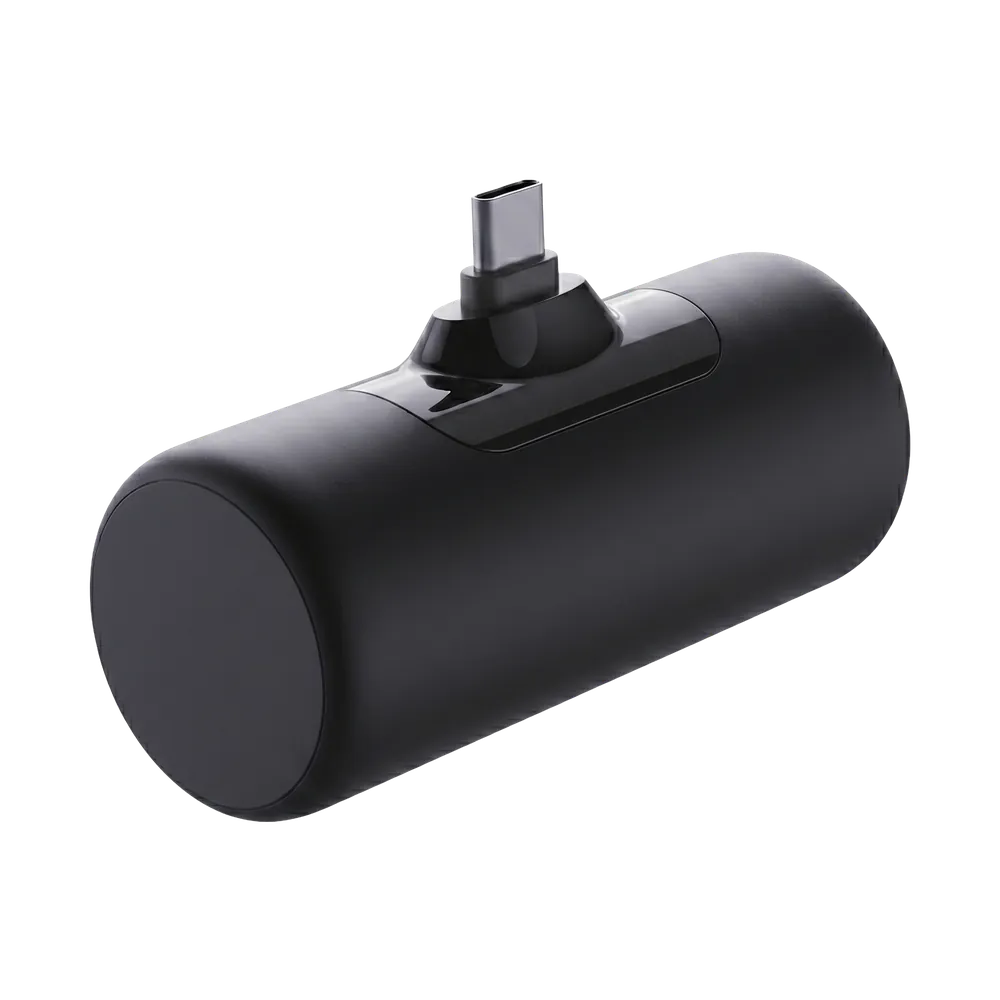
  • An external battery (USB-C — not included in the box)
  • An internet connection
  • A Google account or Apple account (required for registration)
  • An activation code (AI coaching)
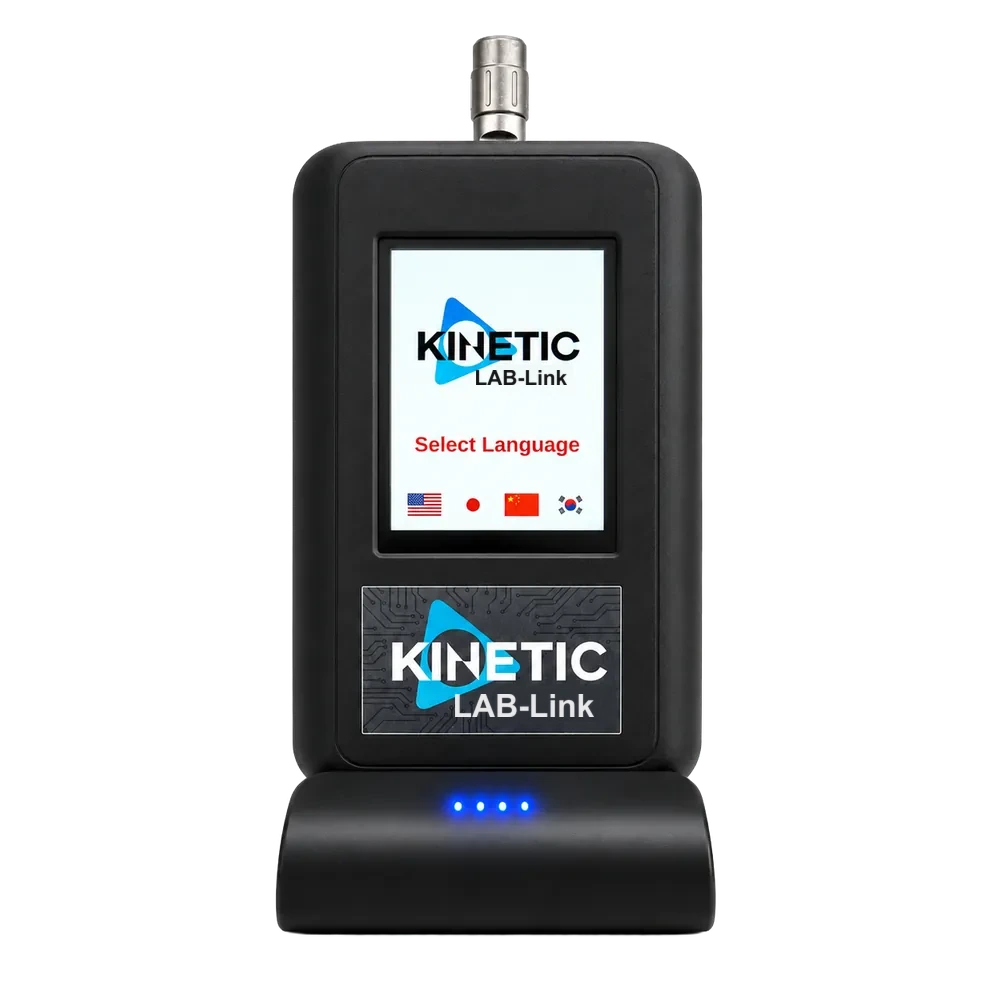
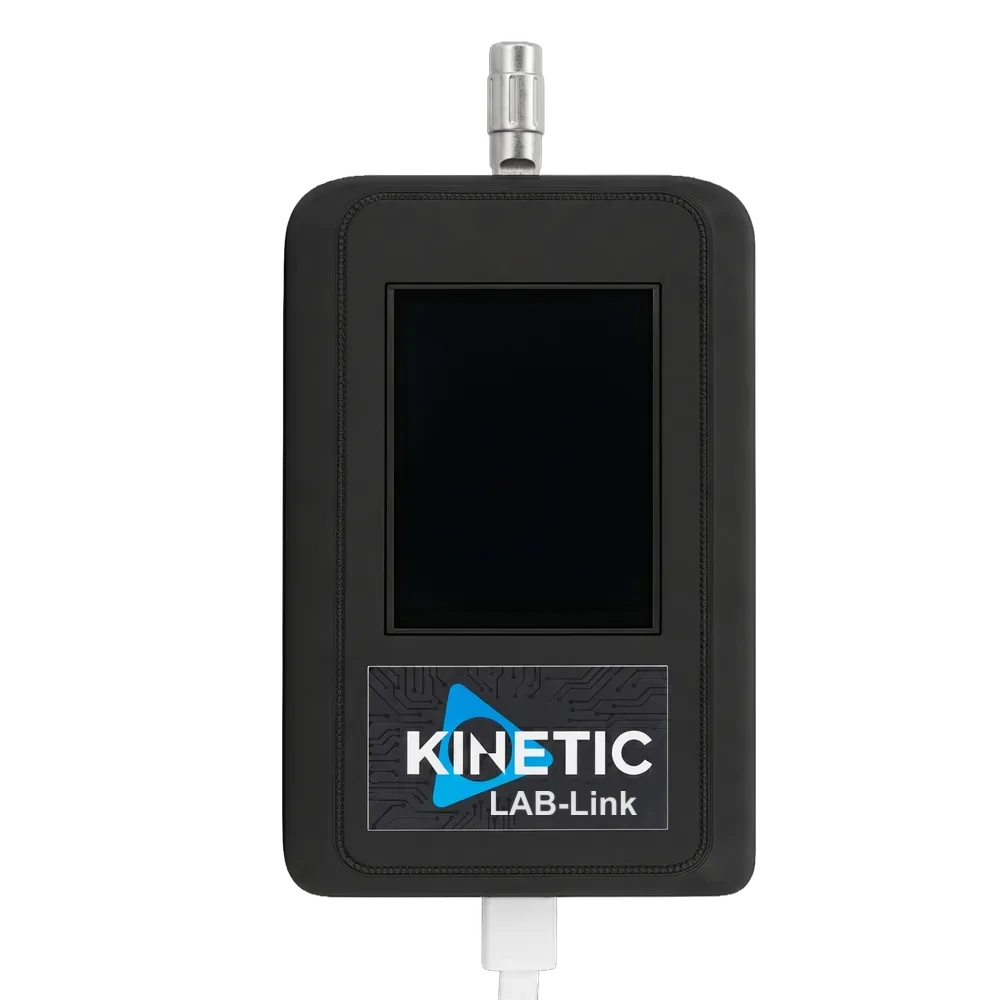
The dedicated sensor
Dedicated sensor (included)
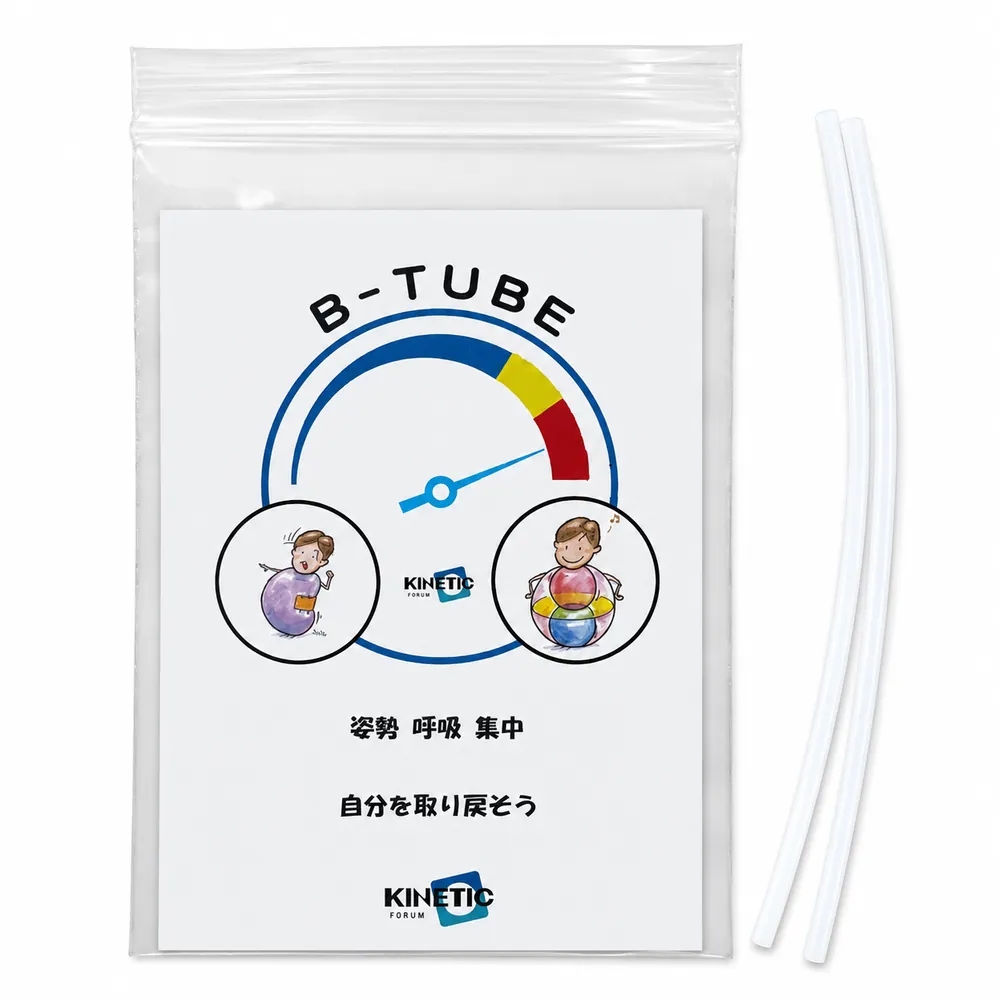
B-TUBE size S
B-TUBE size S ×2 (included)
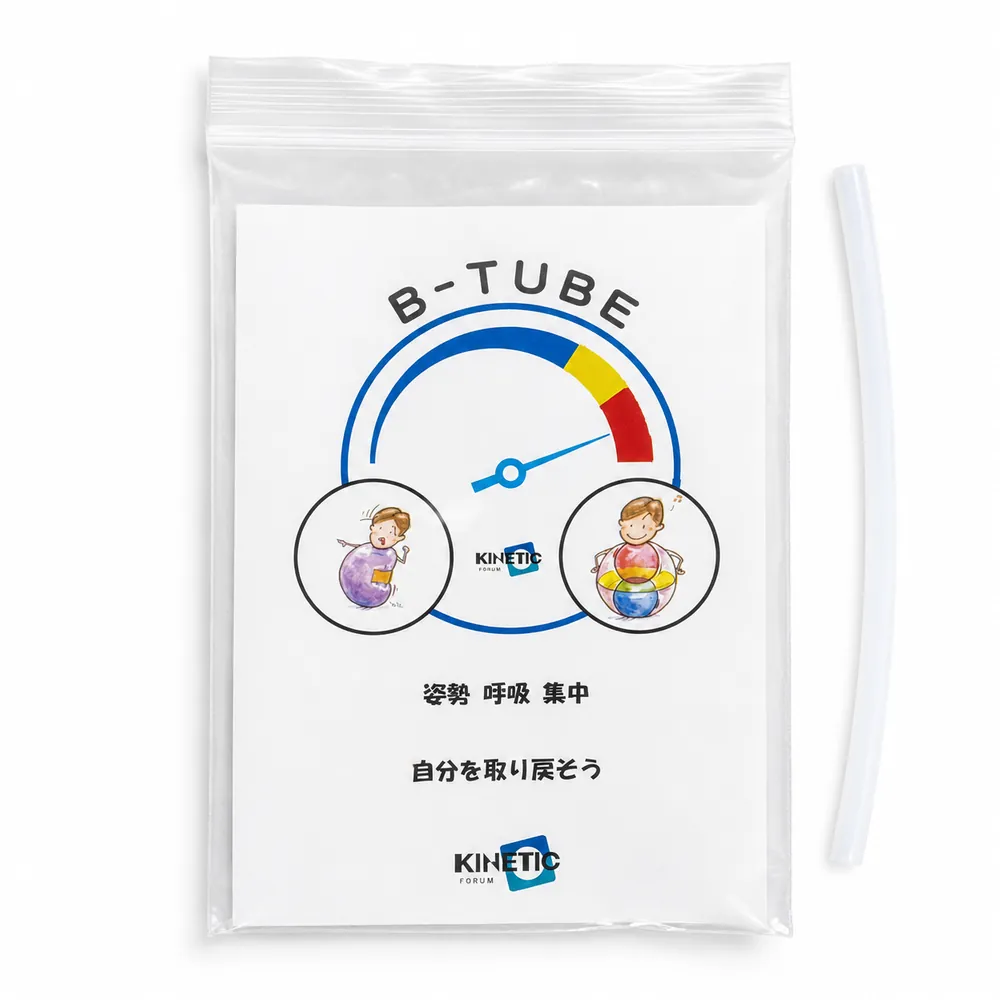
B-TUBE size M
B-TUBE size M ×2 (included)
External battery
External battery (not included)
🎫
About the activation code: AI coaching activation codes can be purchased at the KINETIC LAB STORE. If you backed the project on kickstarter or CAMPFIRE, your activation code has been sent to you by email — please check your mailbox. If you can't find it, check your spam/junk folder as well.
🌐
The screenshots on this page show the Japanese interface. The layout and the order of the steps are exactly the same in your language.

Step 1 · Initial Registration

STEP 1 Initial registration

Sign in to AI coaching (KINETIC LAB-Link) and register your details. It takes only a few minutes.

1

Sign in

Open https://link.kinetic-lab.com/ in your browser and sign in with your Google or Apple account.

  • 1Open it in your smartphone browser (Safari on iPhone, Chrome on Android). No app installation is required.
  • 2You can also reach the same page via the QR code printed on the Quick Start Guide in the box.
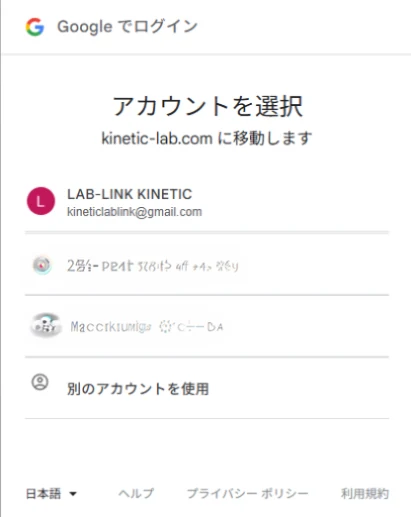
  • 3Choosing "Sign in with Google" opens an account picker. Select the account you want to use.
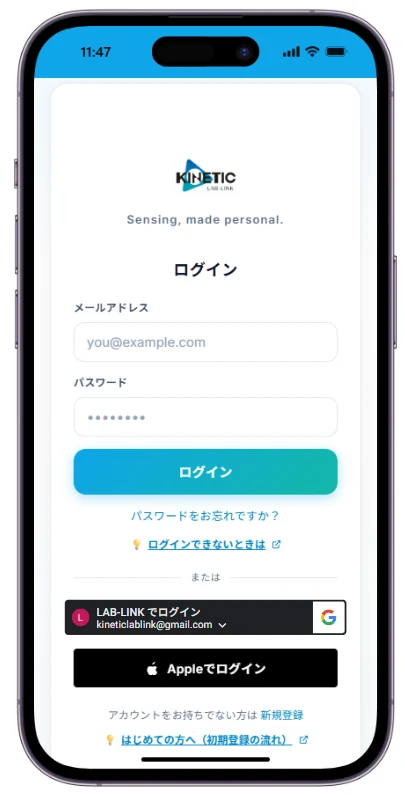
The KINETIC LAB-Link sign-in screen, with Google and Apple sign-in
1Sign-in screen
The Google account picker
2Choose an account
💡
Always sign in with the same account from now on. If you sign in with a different account, your previous measurement data will not appear.
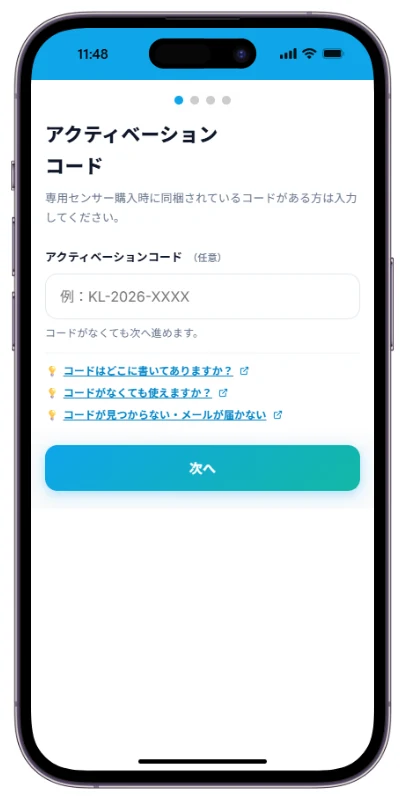
2

Enter your activation code

If you have an AI coaching activation code, enter it here.

  • 1Codes can be purchased at the KINETIC LAB STORE.
  • 2If you backed the project on kickstarter or CAMPFIRE, your code has been sent to you by email — please check your mailbox.
  • 3If you can't find the email, check both your inbox and your spam/junk folder.
  • 4You can also register the code later. If you don't have one yet, just continue with "Next".
The activation code entry screen
1Entering the activation code
3

Register your sport and areas of concern

Select and enter the sport you play and the areas of your body you're concerned about (multiple selections are allowed). The AI takes this into account when advising you.

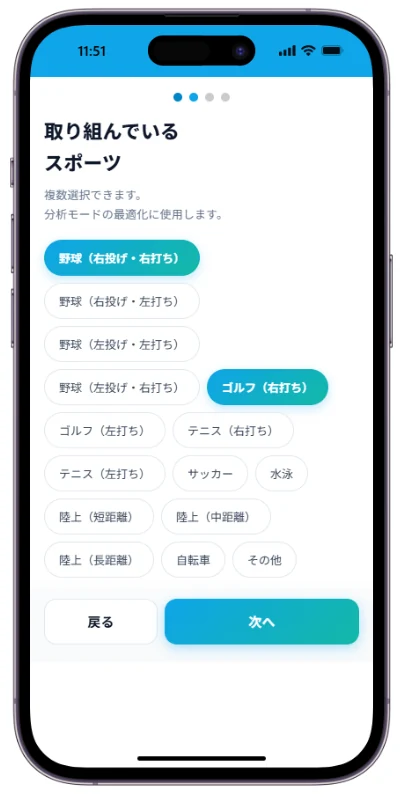
  • 1Your sport: baseball (by throwing/batting side), golf, tennis, football, swimming, track and field, cycling and more. This is used to optimise the analysis mode.
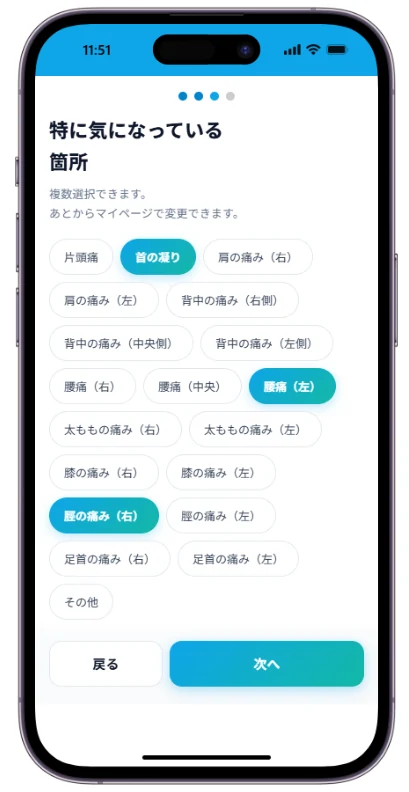
  • 2Areas of concern: migraine, stiff neck, shoulder / back / lower-back pain, knee and ankle pain — selectable per side.
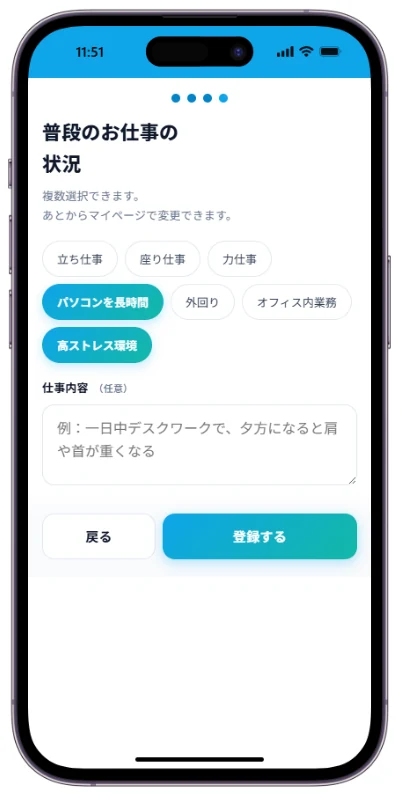
  • 3Your typical working situation: standing work, desk work, long hours at a computer and so on, plus a free-text field for details.
  • 4You can change any of this later from My Page.
The sport selection screen
1Your sport
The areas of concern selection screen
2Areas of concern
The working situation selection and free-text screen
3Your working situation
4

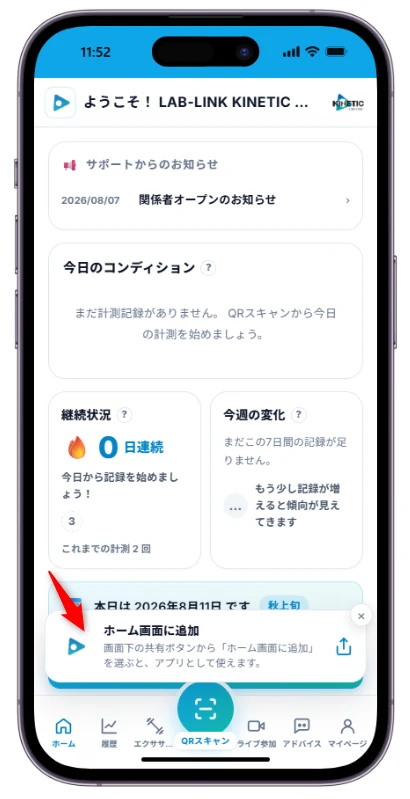
Add to your home screen (optional)

If you'd like it to look and feel like a smartphone app, choose "Add to Home Screen". A shortcut is placed on your phone's home screen.

  • 1Once registration is complete the home screen opens, with an "Add to Home Screen" prompt at the bottom.
  • 2Use the share button at the bottom of the screen and choose "Add to Home Screen" to use it like an app.
  • 3From then on you can launch it by simply tapping the icon on your home screen.
The home screen with the Add to Home Screen prompt
1"Add to Home Screen"
IMPORTANT: do not share your account.
KINETIC LAB-Link's AI coaching is a fully personal AI coach — one account per person. If several people share a single account, their body balance data and measurement results are mixed into one history, and the AI can no longer recognise your true condition. That leads to incorrect analysis and inappropriate exercise recommendations, so please never share an account.

Step 2 · Connect the Sensor

STEP 2 Connect the sensor

Connect the dedicated sensor and an external battery with a USB-C cable. When the LCD screen lights up, it's ready to measure.

1

Connect the battery and power it on

The dedicated sensor has no built-in battery. It runs from an external battery connected with a USB-C cable.

Prepare the external battery
1Prepare the external battery
Connect via USB-C
2Connect via USB-C
Ready once the screen lights up
3Ready when the screen is on
Before you start measuring, always check the battery level and the screen display. If the power runs out mid-measurement you have to start over from the beginning.
2

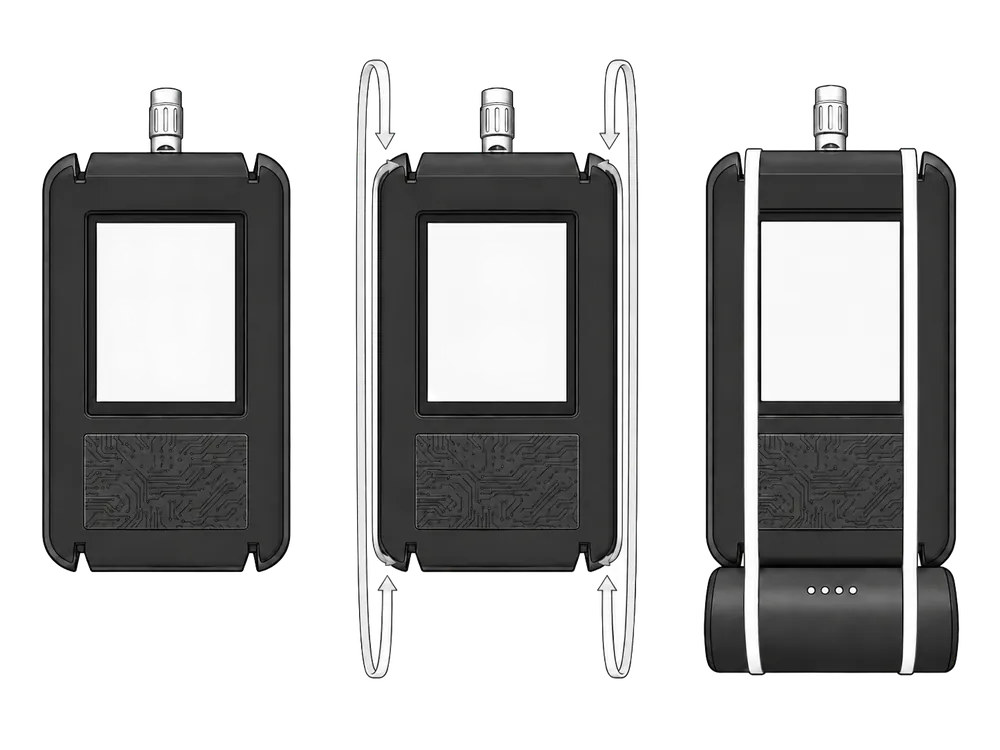
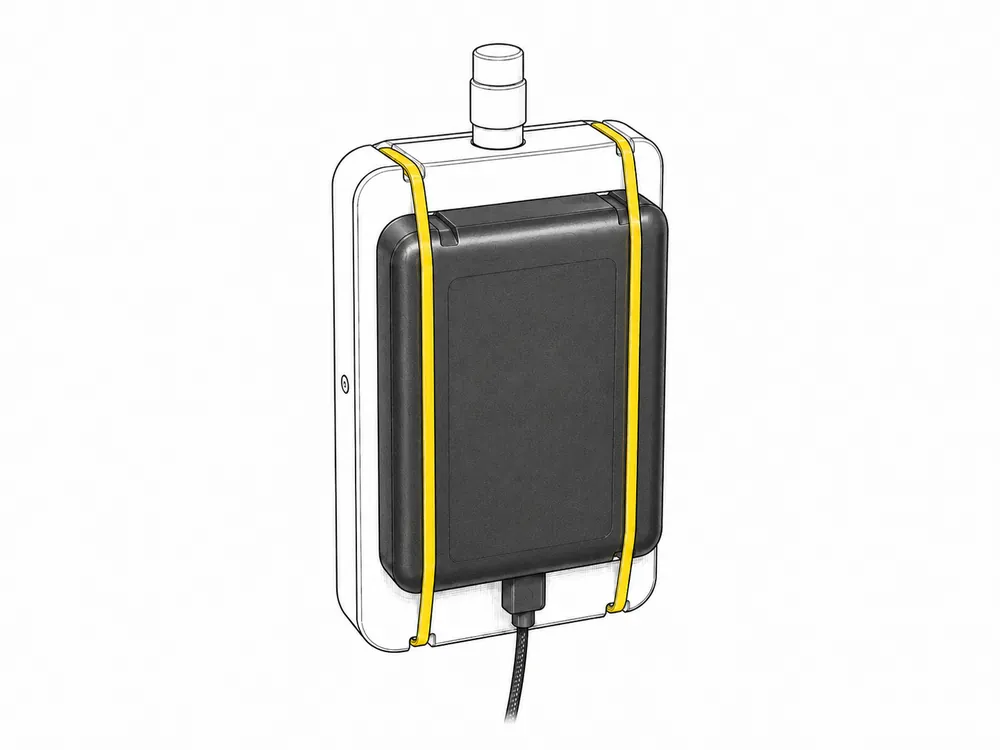
Secure the battery to the sensor (recommended)

Thread a rubber band through the slits on the top and bottom sides to secure the external battery to the back or the bottom of the unit. The cable won't get tugged during measurement, and the sensor is easier to handle one-handed.

Threading the rubber band through the slits
Thread the band through the slits
Battery secured to the back
Secured to the back / bottom
STEP 3 · BODY SCAN

Have your sensor? Go on to the body scan

Next comes the body scan: 5 points on each side, 10 in total. The locations are strictly defined. Use the measurement guide to confirm the exact position of the 5 points and the precautions before measuring (wipe off sweat and sunscreen).

Go to the body scan measurement guide

Related questions

Common questions about registration and sensor connection

The points people most often get stuck on during the quick start.

🧭

If you get stuck

Can't find your activation code, can't sign in, the sensor screen won't light up — the FAQ covers the most common problems and how to solve them. If that doesn't help, please get in touch.